Charlie Morningstar - Hazbin Hotel

Worn to:
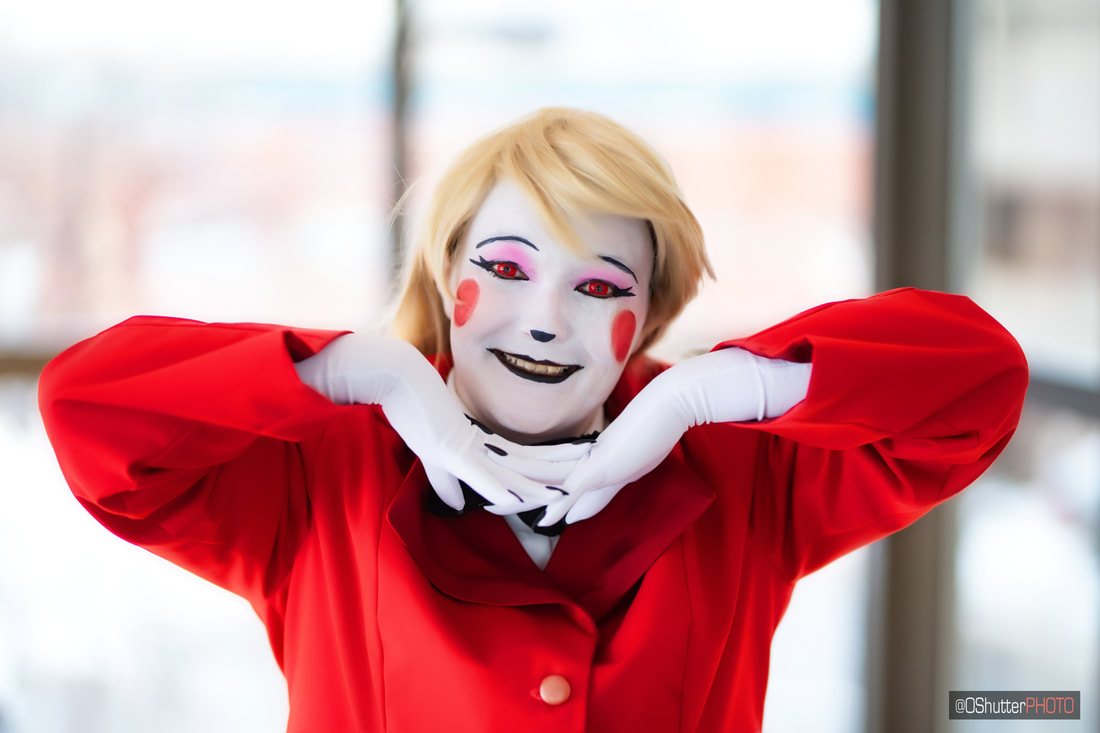
G-Anime 2023 (Gatineau, QC)
Status: Active
Why Charlie Morningstar?
Honestly up until the last few months I hadn't really considered her as a character to cosplay, since I don't really go for the upbeat, happy, cute, female characters. But looking at Charlie's new design that came out last year, I felt motivated to make her. I love her new red suit and it presented me an opportunity to learn more about making suits and tailoring. And a bonus, wig styling.
Construction:
Wig: I bought a Venus in champagne from Arda Wigs Canada and gently teased the wig with a brush to add volume. I sewed in wefts in frost blonde for her lighter streaks. The body of the wig is held back with elastics. The bangs were styled with a bit of light teasing and Got2B set with heat.
Bowtie: The bowtie I made my own custom pattern, wanting to make the cute cartoony shape. I used old an old faux suede curtain I'd received years ago to make it. It has fusible interfacing inside to help the shape and stuffed with tulle. The strap goes around the back of my neck and secures with a snap fastener. I kept this in mind when designing it so that if needed I could easily take it off and on. For an added personal detail I added the beaded lace leftover from my fancy Alastor onto the edges of it.
Jacket: I modified a Simplicity coat pattern into what I needed. The jacket is made out of twill and fully lined. I made the jacket a bit longer for my personal taste and to also make itt more of a real suit jacket length. There is fusible interfacing down the entirety of the front panels and tailors canvas in the upper chest part. I taught myself pad stitching to help maintain the shapes of the lapels. I did the body of the lining with the body of the jacket, pressed flat. Sleeves were done separately and the lining is finished inside by hand.
Pants: I used a pants pattern I've used many times, keeping it a bit looser for personal comfort. I finished the seams inside with bias tape to make them nice and clean. I also added a pocket into the right side of the pants.
Gloves: I traced my hand to get the shape and fit correct. They extend a bit up my arms to help the illusion. I managed to find fake nails in the shape and colour I wanted and they just stuck right on.
Photography by Open Shutter Photography