Lucifer Morningstar - Hazbin Hotel

Worn:
TikTok filming (July & August 2021, March & December 2022)
Ottawa Comic Con Holiday Edition 2021 (Ottawa, ON)
YetiCon 2022 (Blue Mountain Village, ON)
Otakuthon 2023 (Montreal, QC)
Status: Active
Awards/Features:
Honourable Mention in Workmanship for The Hat (Otakuthon at Home 2021 / Artisan Division)
Published in January 2022 Issue of Cosplay Realm Magazine - Royalty and Detail Oriented Cosplays Issue
Why Lucifer Morningstar?
At the time of him being started it was actually put to public vote on my Instagram stories and Lucifer won between several other characters of who would be my next Hazbin Hotel cosplay. I was so excited to start him, and one of the reasons I was considering him (but couldn't make up my mind) was the challenges that would come with making him.
Construction:
Wig: I ordered a Cady in Champagne from Arda Wigs Canada. Styling was pretty straight forward, using only Got2bGlued and my hair dryer, spraying for the two pieces that flip up at the temple, and carefully curling the sides. I also had to do a bit of heat training on the 'sideburns' to get them to lay flatter.
Bowtie: The bowtie was made using some scraps from my stash from a coat project I had done a couple of years prior. I made the pattern directly onto the fusible interfacing, ironed it to the fabric in the middle of one of the patterns and repeated the process. There's also some tulle stuffed inside to help the cartoony shape. The two halves were sewn together with a strip of matching fabric sewn over top. It's finished with a strap that goes around my neck of the fame fabric and closes behind the bowtie with a snap fastener.
Coat: I drafted my own pattern to match the character and fit me. The coat is made of heavy dull satin (white) and bridal satin (red). There is interfacing on every seam going down the coat and to give extra structure to the shoulders I used buckram to help support the shape. There is a bit of interfacing also at the tops of the sleeves. I drafted the patterns for the lapels and collar myself, using fusible interfacing in the lapels, and buckram in the standing collar. For the inside of the collar I did applique for the red, finishing it with a white zig-zag stitch. There's horsehair braid in the bottom hem. The coat is completely finished by hand for the lining and trim.
 Photo featured in January 2022: Royalty and Detail Oriented Cosplays Issue of Cosplay Realm Magazine
Hat: The hat is made of 2 different foams that were in my stash - L200 foam for the column and top, and puzzle piece floor mat for the brim. I cut the brim first, using a bowl to make for the hole for my head, and measured 15" around all the way round. I cut it out, and finished the edges with my dremel. I pinned and hand sewed the fabric leftover from the coat in place on top. I repeated the process with the column and top, so the hat is fully lined. For the hat to extra match the coat, I used the same trim that I did on the coat.
Snake: I made the pattern for the snake long enough to wrap around the column (70") and sewed most of the way around the body, leaving a gap near the middle for easier stuffing. Once stuffed, I sewed it up and pinned the snake in place around the column, stitching the snake in specific spots on it's body. The stripes are done with 2mm Czech seed beads, and the eyes are acrylic jewels secured with Jewel-It.
Apple: The apple is made as a basic patch, using scraps of the red satin and some interfacing. The stem is done with buckram I got from work, covered in white tulle and black lace from my stash. The apple is hand sewn onto the hat.
Teeth: The teeth are made of Worbla Deco Art and molded around my actual teeth for base, and each tooth was added individually.
Trousers: Made from a basic pants pattern I already had and tailored to fit. The only extra thing I did really was fell the seams down by hand inside so they were cleanly finished.
Waistcoat: I used leftover fabric and ribbon from Fancy Alastor for the fashion layer. With my mother's help I modified an XL men's waistcoat pattern to fit my body. The ribbons were machine sewn on to make the stripes, and there is interfacing in every panel of the waistcoat. I bagged the lining for it, leaving an opening at the neckline to turn it out, pressed flat, and finished the neck and arm holes by hand. The buttonholes were first done on machine, but due to the fabrics chosen I finished them by hand using embroidery floss and a blanket stitch.
Apple cane: The cane is made entirely of wood and worbla. The body of the apple is made of 4 pieces of cut pine, partly shaped on the scroll saw, glued together using carpenter's glue, and shaped on the belt sander. Finer sanding finished with the dremel and a sanding bit. The stem and leaf are scrap worbla secured on with it's own adhesive. The whole thing was painted before being glued onto the dowel used for the staff part - originally used for my Alastor mic that I plan to remake at some point - with a new dowel. The whole thing is sealed with a glossy varnish.
Photography:
Self Home Shoot
Richard Dufault of Open Shutter Photography
ShutterFae Studio
|


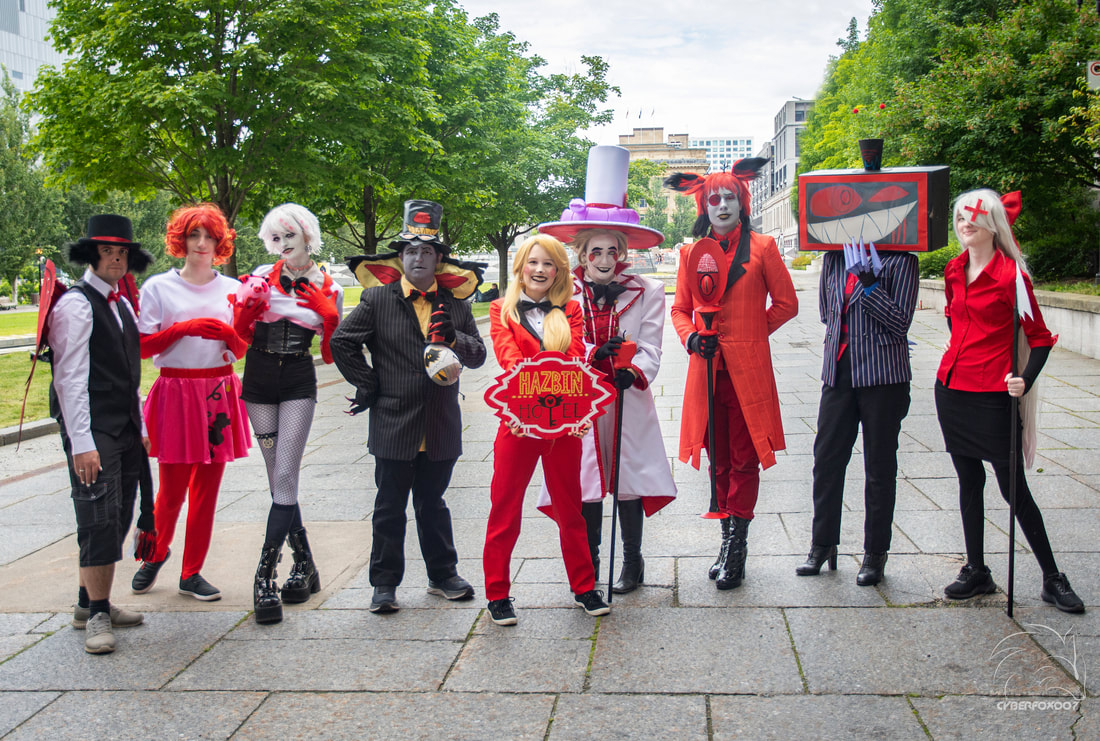
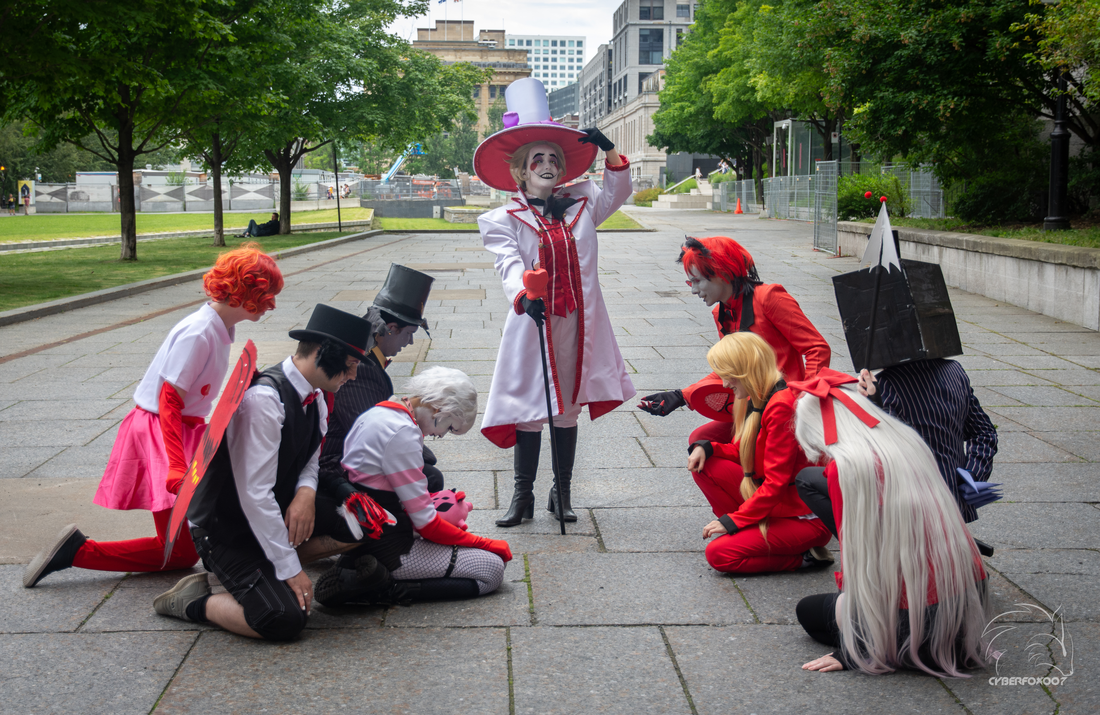
Photography by Cyberfox007 Photography