Sailor Mercury - Bishoujo Senshi Sailor Moon

Worn:
Otakuthon 2019 (Montreal, QC)
GAnime Winter 2020 (Gatineau, QC)
CAPE 2023 (Cornwall, ON)
Status: Active
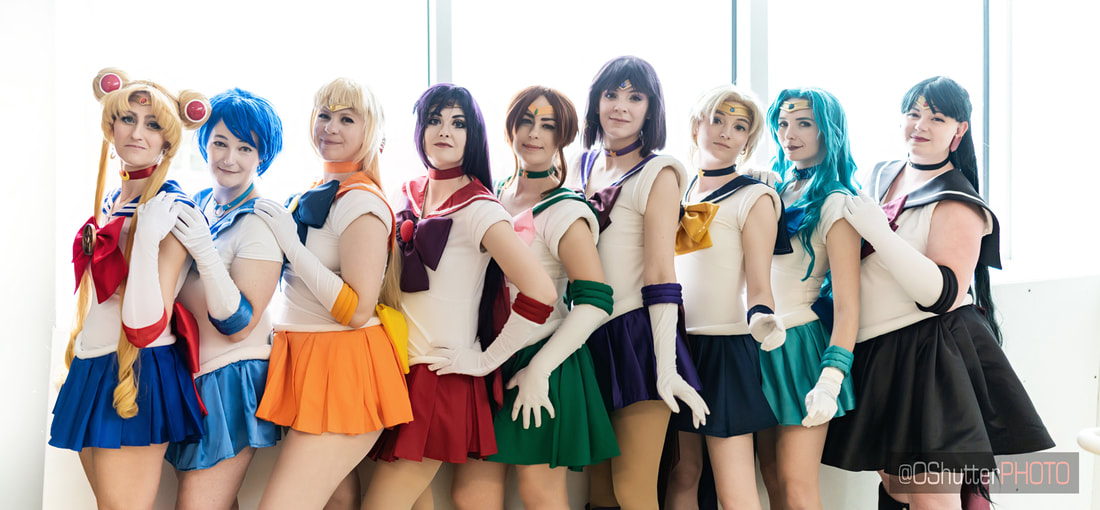
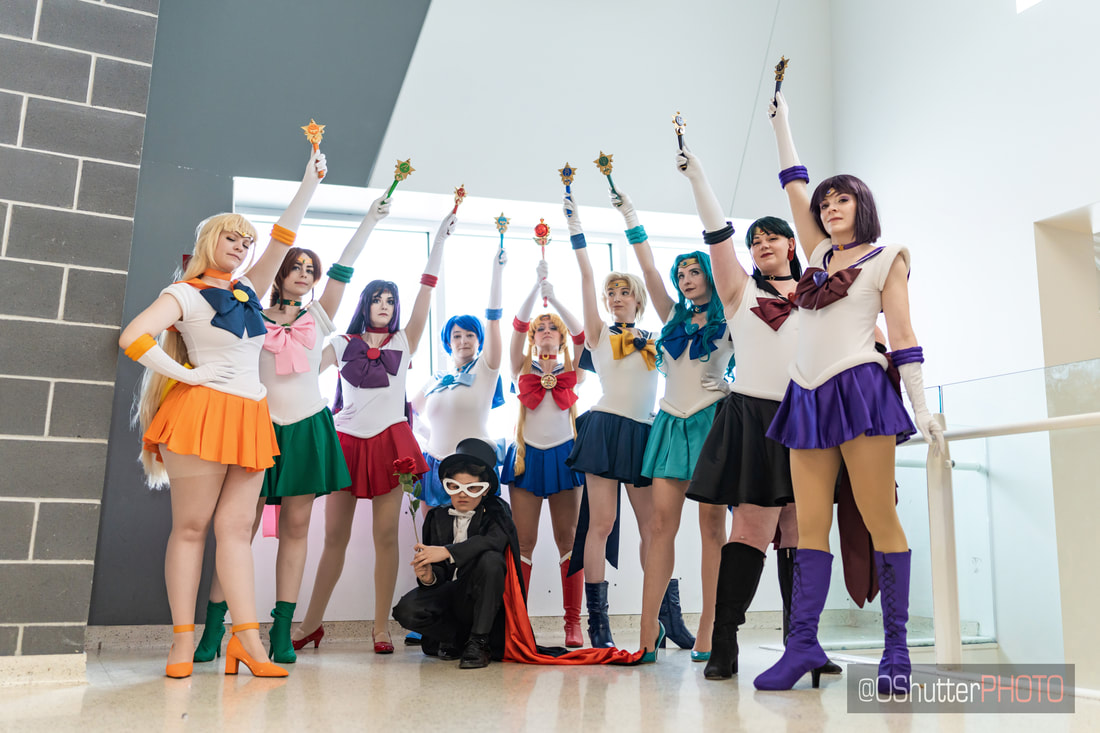
Features: Front Page of Standard Freeholder newspaper in Cornwall for CAPE 2023 (featured in article with full Sailor Scout group)
Why Sailor Mercury?
Sailor Mercury has been a long time favourite anime character for me. She was always my favourite when I would watch Sailor Moon, and I aspired to be more like her while I was growing up. Protective of her friends, smart, good with technology, and fiercely loyal to those she loved. She was an inspiration to 5 year old me, and finally becoming her was a dream come true.
Construction
I saved myself some time and money in Mercury's construction by buying both my leotard (size L from Capezio - $22 on Amazon.ca), and my gloves (child's small long from Party City). So all I had to do to these pieces was modify them. I was also able to getaway with using a wig that I already had - my wig that I use for KAITO from VOCALOID. If it's the same colour and length, why not?
Bows: I followed the tutorial from Kirilee Cosplay on how to make these. I have buckram inside all parts of the bows, and the fashion layers are made out of the same satin. Both bows are hand sewn into place on the costume.
Collar: I made my own custom pattern so that the collar could just slip over my head. 1 layer of the collar has infusible interfacing on the inside. The ribbon is machine sewn on. There's a mock facing inside around the neck of the collar for a cleaner finish. It attaches to the leotard with a snap fastener in the centre front.
Skirt & hip rolls: I made the skirt in two pieces and hand pleated it. I hand sewed the skirt onto the leotard while wearing it - which was time consuming to say the least. The hip rolls are made using some white fabric I had left from an old project. I made a pattern to match the size of the leotard when worn, sewed, turned inside out, and gently stuffed. This was also hand sewn into place. The entire top edge is sewn, and the bottom is tacked down in strategic places. The back bow is sewn over the back centre seam of the rolls.
Glove rolls: I cut strips of the fabric, turned them right side out after sewing, stuffed, and then did the stitches over top the stuffing to make it look like 3 rolls. They were hand sewn for the finishing edges. They just slide onto the top of the gloves I bought in case I ever decide to make gloves for the costume and do away with the ones I bought.
Tiara: Craft foam I cut out to shape, heat formed with my heat gun, and sealed using Flex Seal. The tiara was then spray painted with some of the gold I still had from painting Aurora's crown & necklace. The jewel is one I had from a package and painted blue, and just hot glued in place. It just sits under the wig.
Boot covers: Custom patterned using the plastic wrap method. The top layer of the boot covers has infusible interfacing helps the boots maintain their shape when worn. The ribbons are machine sewn on the top layer. The lining is sewn in a similar method, but no interfacing. The boots do up in the back with a zipper (that I had to cut about 1-2" off). There is a strap the secures under the shoe using a single snap fastener.
Photographer credits: Wolfrin Photographer & Cosplay, Cyberfox007 Photography & Open Shutter Photography
Otakuthon 2019 (Montreal, QC)
GAnime Winter 2020 (Gatineau, QC)
CAPE 2023 (Cornwall, ON)
Status: Active
Features: Front Page of Standard Freeholder newspaper in Cornwall for CAPE 2023 (featured in article with full Sailor Scout group)
Why Sailor Mercury?
Sailor Mercury has been a long time favourite anime character for me. She was always my favourite when I would watch Sailor Moon, and I aspired to be more like her while I was growing up. Protective of her friends, smart, good with technology, and fiercely loyal to those she loved. She was an inspiration to 5 year old me, and finally becoming her was a dream come true.
Construction
I saved myself some time and money in Mercury's construction by buying both my leotard (size L from Capezio - $22 on Amazon.ca), and my gloves (child's small long from Party City). So all I had to do to these pieces was modify them. I was also able to getaway with using a wig that I already had - my wig that I use for KAITO from VOCALOID. If it's the same colour and length, why not?
Bows: I followed the tutorial from Kirilee Cosplay on how to make these. I have buckram inside all parts of the bows, and the fashion layers are made out of the same satin. Both bows are hand sewn into place on the costume.
Collar: I made my own custom pattern so that the collar could just slip over my head. 1 layer of the collar has infusible interfacing on the inside. The ribbon is machine sewn on. There's a mock facing inside around the neck of the collar for a cleaner finish. It attaches to the leotard with a snap fastener in the centre front.
Skirt & hip rolls: I made the skirt in two pieces and hand pleated it. I hand sewed the skirt onto the leotard while wearing it - which was time consuming to say the least. The hip rolls are made using some white fabric I had left from an old project. I made a pattern to match the size of the leotard when worn, sewed, turned inside out, and gently stuffed. This was also hand sewn into place. The entire top edge is sewn, and the bottom is tacked down in strategic places. The back bow is sewn over the back centre seam of the rolls.
Glove rolls: I cut strips of the fabric, turned them right side out after sewing, stuffed, and then did the stitches over top the stuffing to make it look like 3 rolls. They were hand sewn for the finishing edges. They just slide onto the top of the gloves I bought in case I ever decide to make gloves for the costume and do away with the ones I bought.
Tiara: Craft foam I cut out to shape, heat formed with my heat gun, and sealed using Flex Seal. The tiara was then spray painted with some of the gold I still had from painting Aurora's crown & necklace. The jewel is one I had from a package and painted blue, and just hot glued in place. It just sits under the wig.
Boot covers: Custom patterned using the plastic wrap method. The top layer of the boot covers has infusible interfacing helps the boots maintain their shape when worn. The ribbons are machine sewn on the top layer. The lining is sewn in a similar method, but no interfacing. The boots do up in the back with a zipper (that I had to cut about 1-2" off). There is a strap the secures under the shoe using a single snap fastener.
Photographer credits: Wolfrin Photographer & Cosplay, Cyberfox007 Photography & Open Shutter Photography